When I last posted, I had just begun printing the pieces for the Mostly Printed CNC machine. Now, about 120 machine hours and several hours of assembly later, it’s time for an update!
Printing and Reprinting
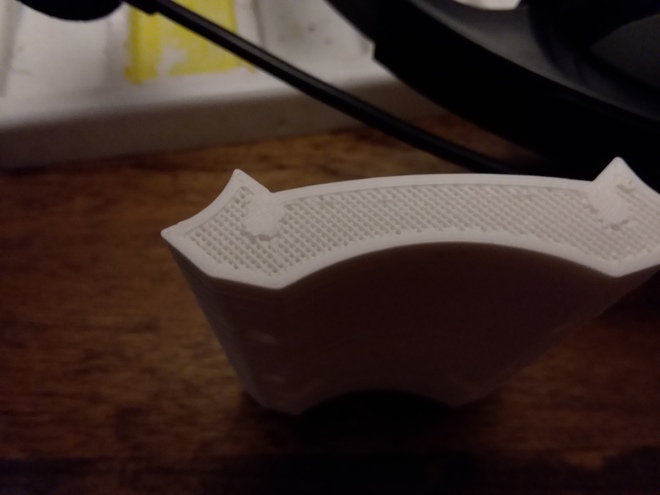
Each part was printed at 55% infill, with 3 perimeters, and at 55mm/s. That was a little fast, and resulted in some ringing in the print features, but the parts didn’t need to be pretty, just accurate and functional.
Early on in the prints, I ran out of white PLA, and swapped to a roll of black PLA. An attempt at hot-swapping to the new roll during a print resulted in a weak part, which easily snapped at the filament change layer. I recommend pausing, moving the tool to a good location, then purging the hot end until the new material is flowing smoothly.
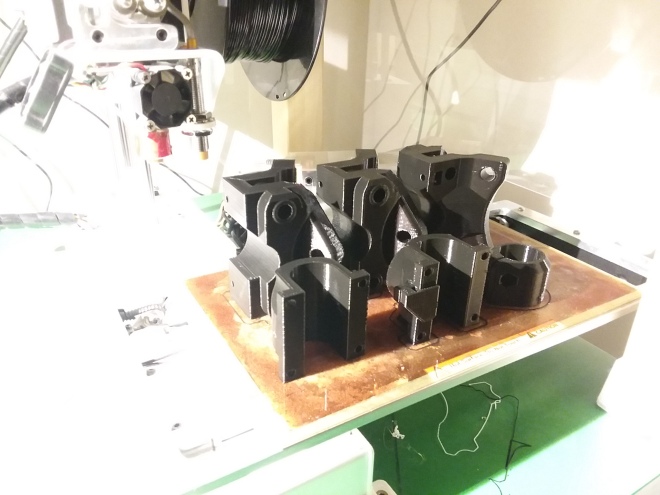
All this printing also taught me how inaccurate the print time estimates are. On average, each set of prints took about 20% longer than expected. This wasn’t too much of a problem, since most prints were taking place at night.
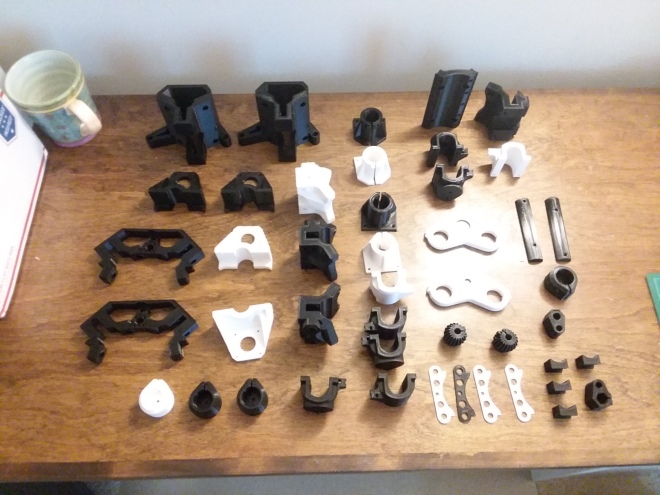
At the end of printing, I used over 2.5 lbs of plastic to print the 45 parts
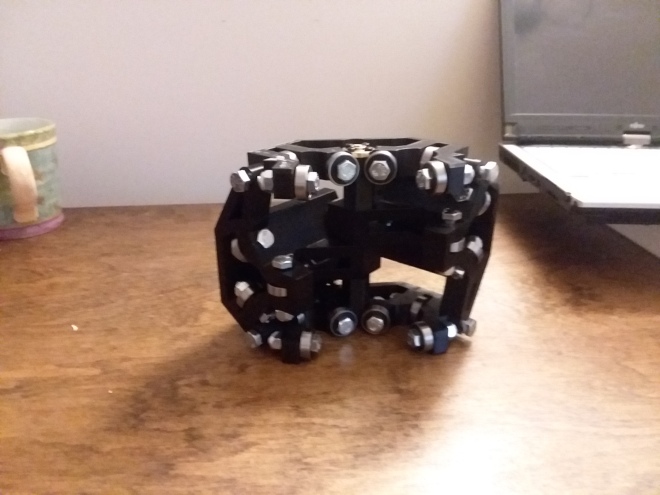
Assembly
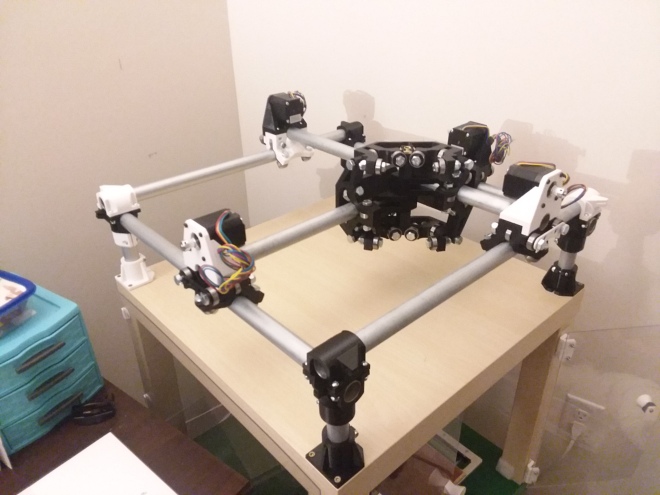
With all the parts printed, it was time to install all the bolts and bearings. Assembly was a painless process, and I was soon ready to install the conduit.
The original plan was to to have a 24 by 24 inch build area. This would have required a table measuring almost 3 by 3 feet. At the moment, I don’t have that kind of space to dedicate to this machine. I opted to scale down to 11 by 11 inches, which fits on top of an Ikea Lack side table. With 20 feet of conduit costing well under $20, I can easily rebuild the table at a larger scale when I have the space.
X-Y Gantry
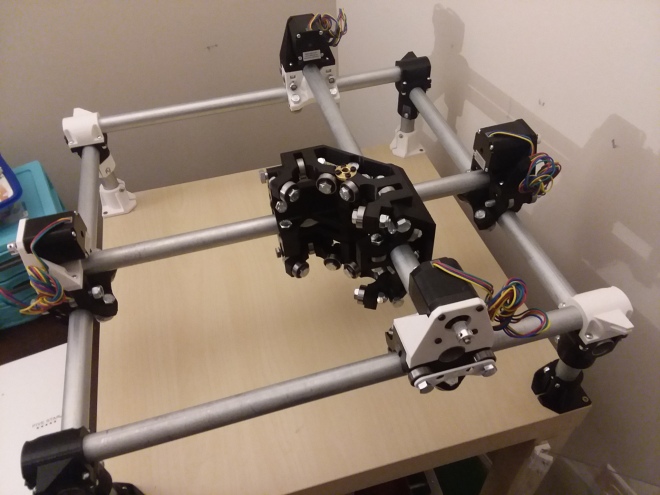
At the moment, the x-y axes are in place and rolling with no play in the motion. Next on the agenda is wiring up the steppers and control board, assembling and installing the z-axis, then connecting to the computer to test the stepper motion. I think I will start with a drag knife to get the hang of using the machine, then upgrade to a laser cutter or rotary tool.